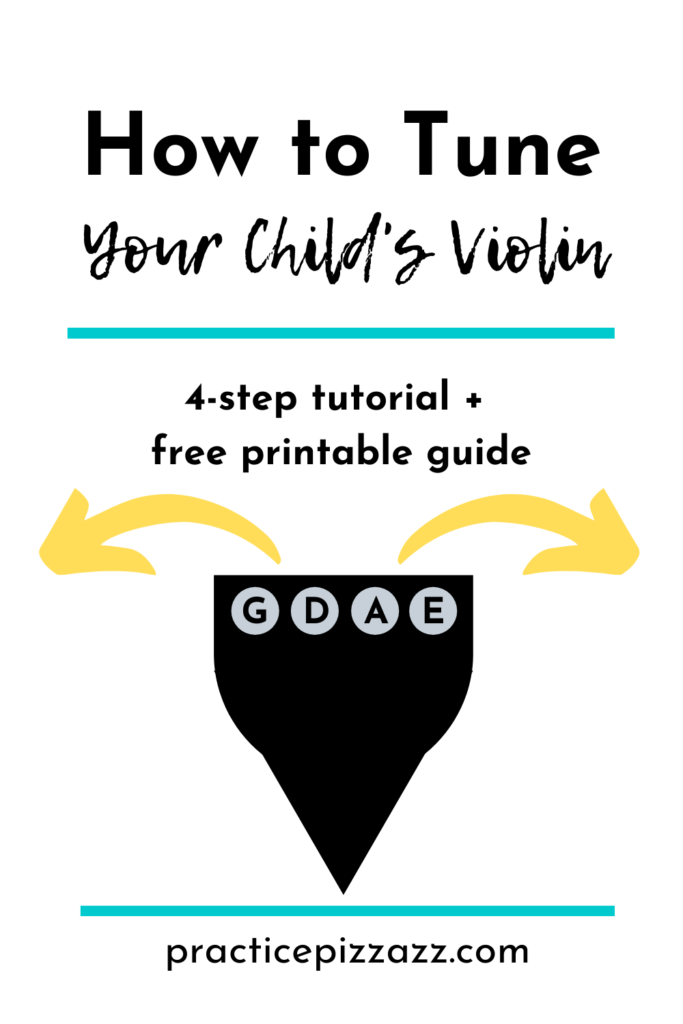


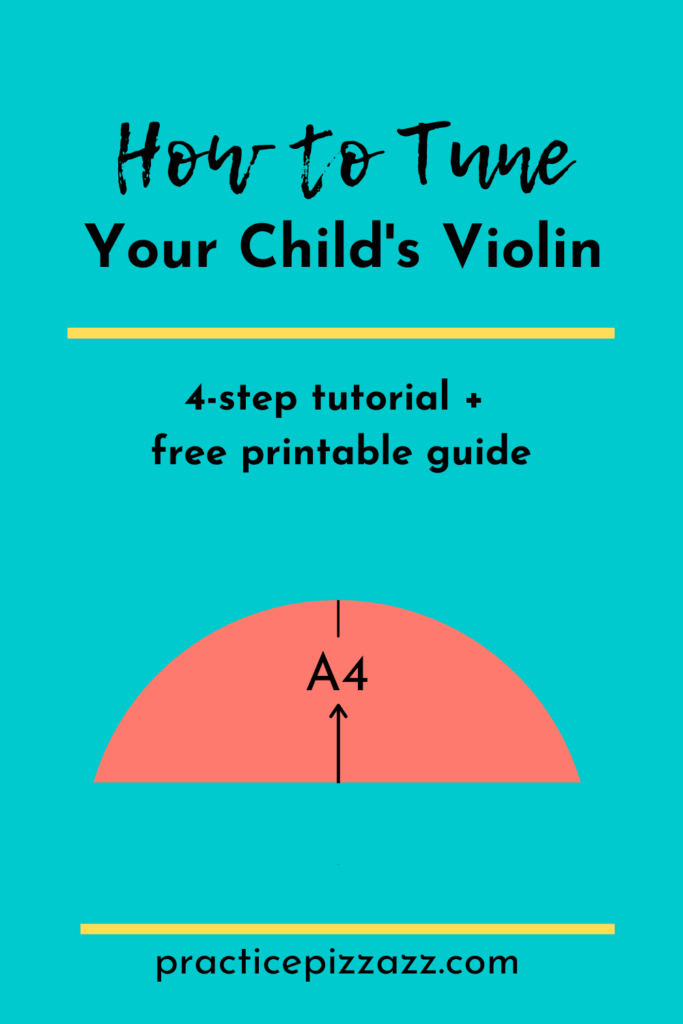

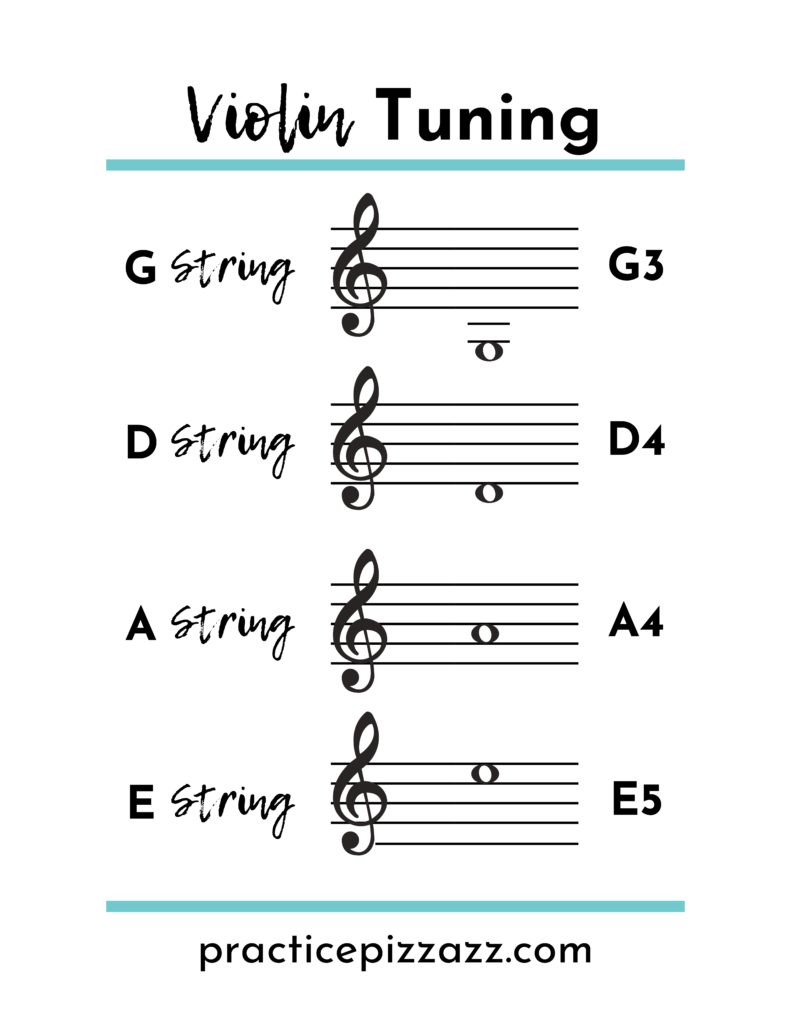
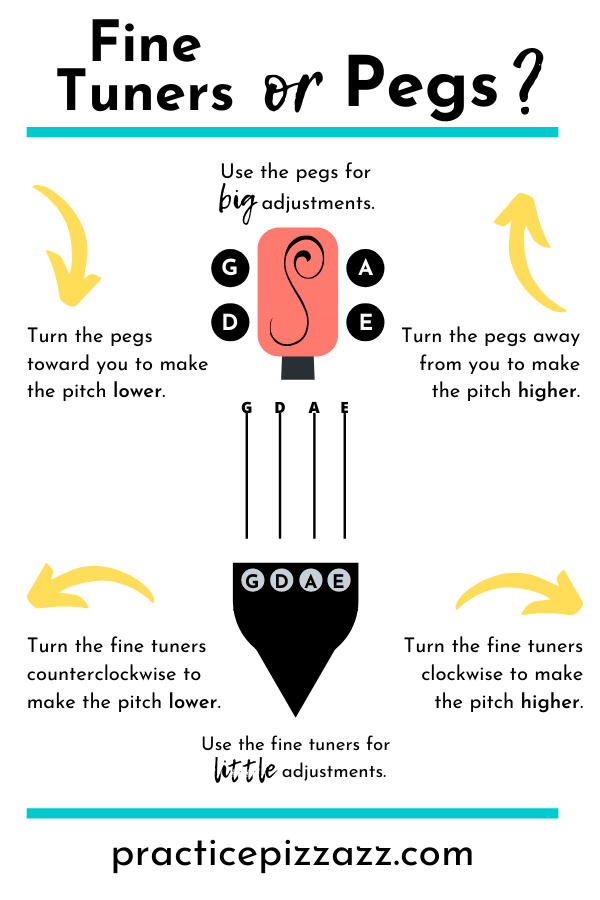

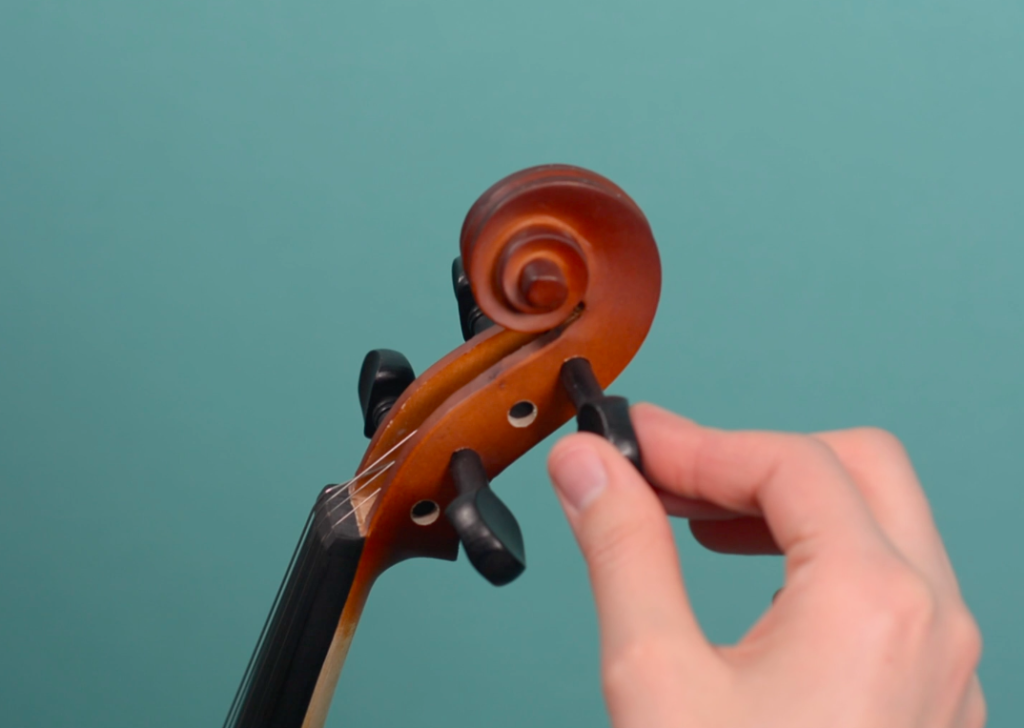
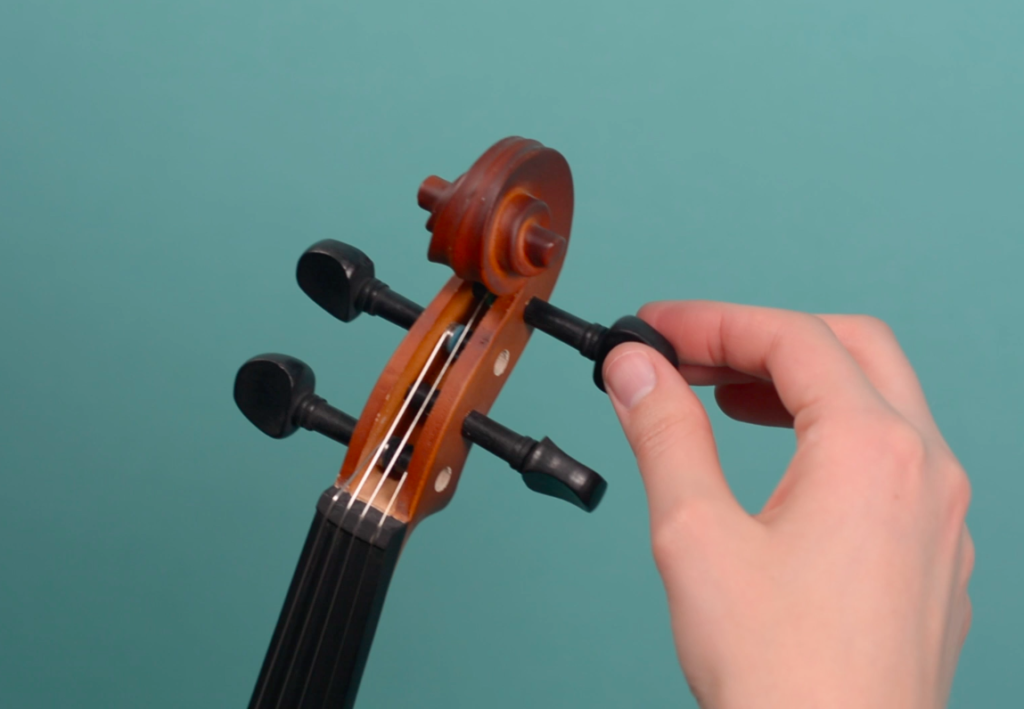
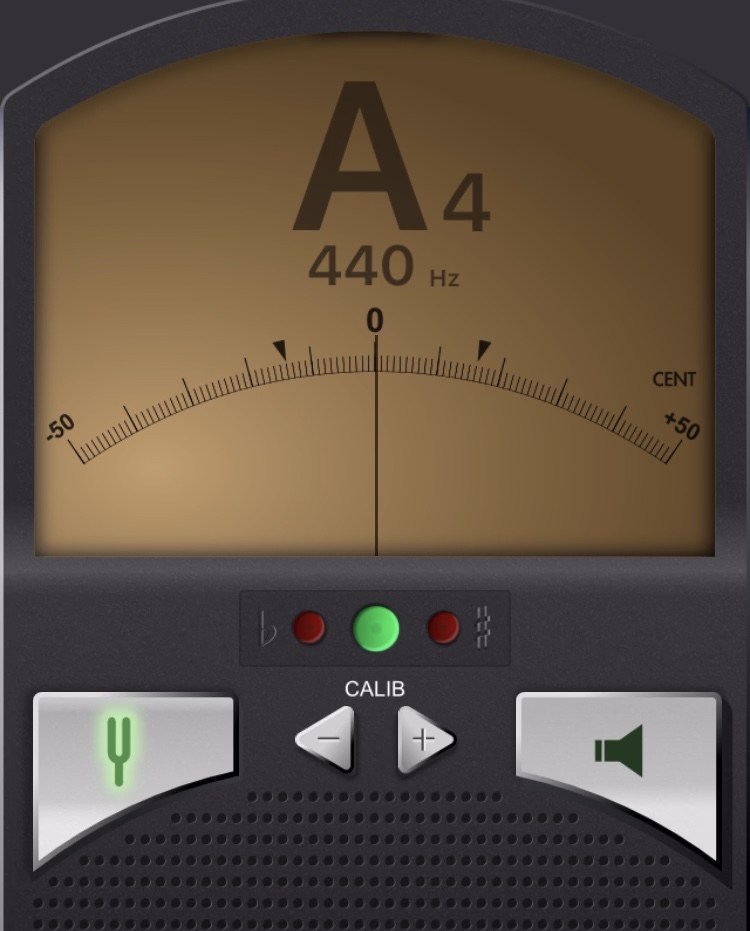
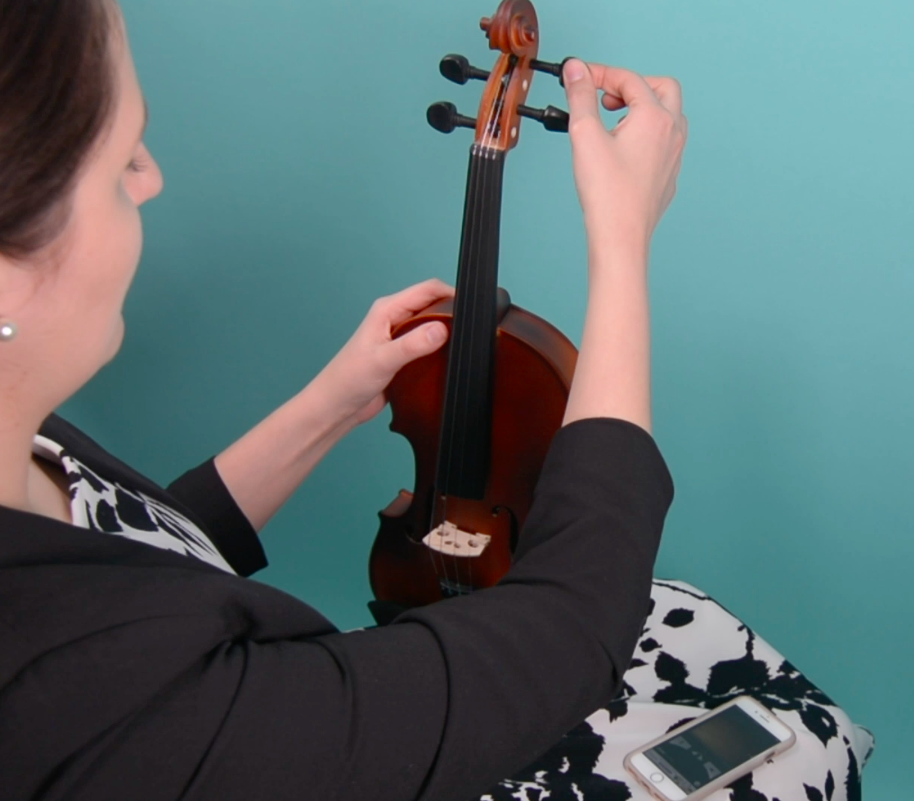
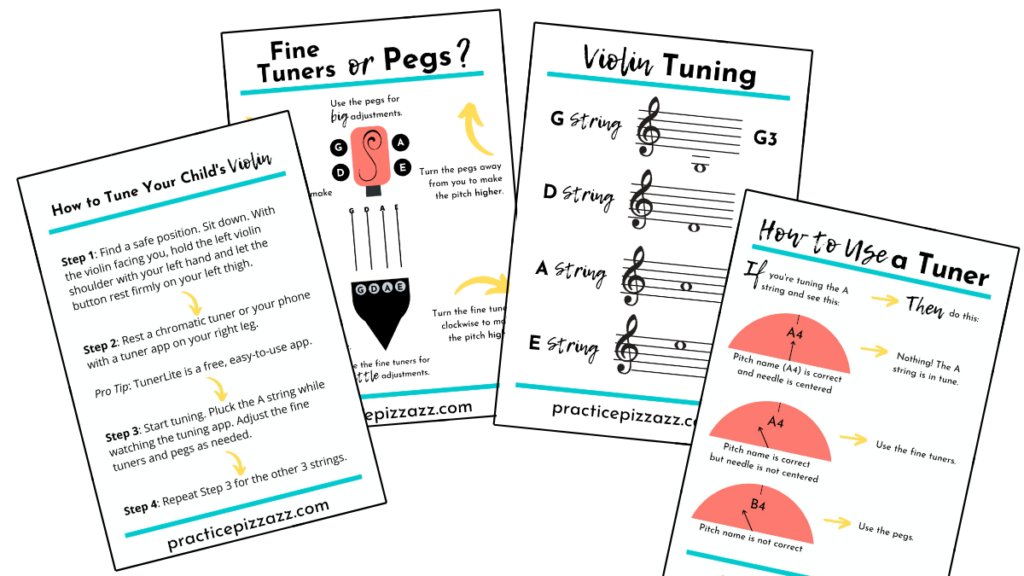
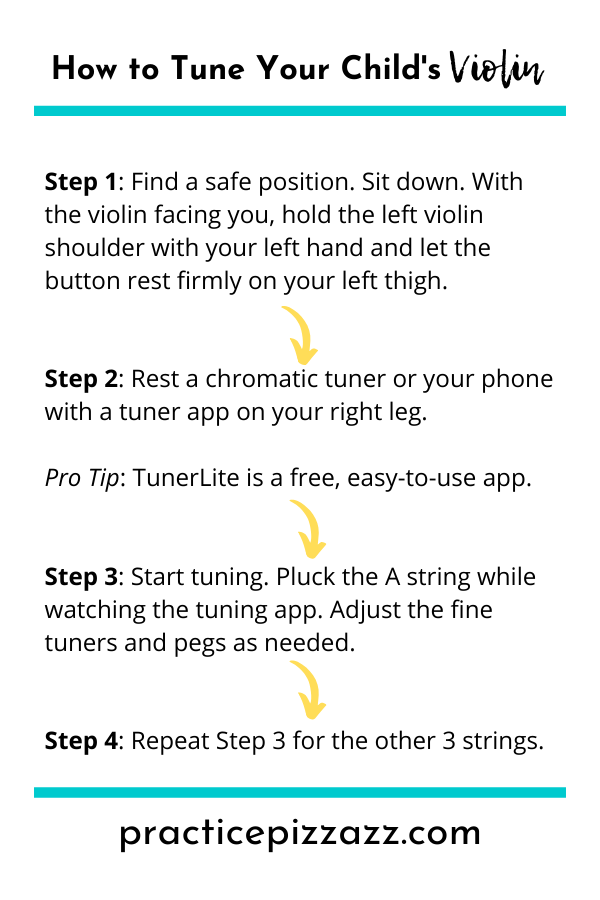

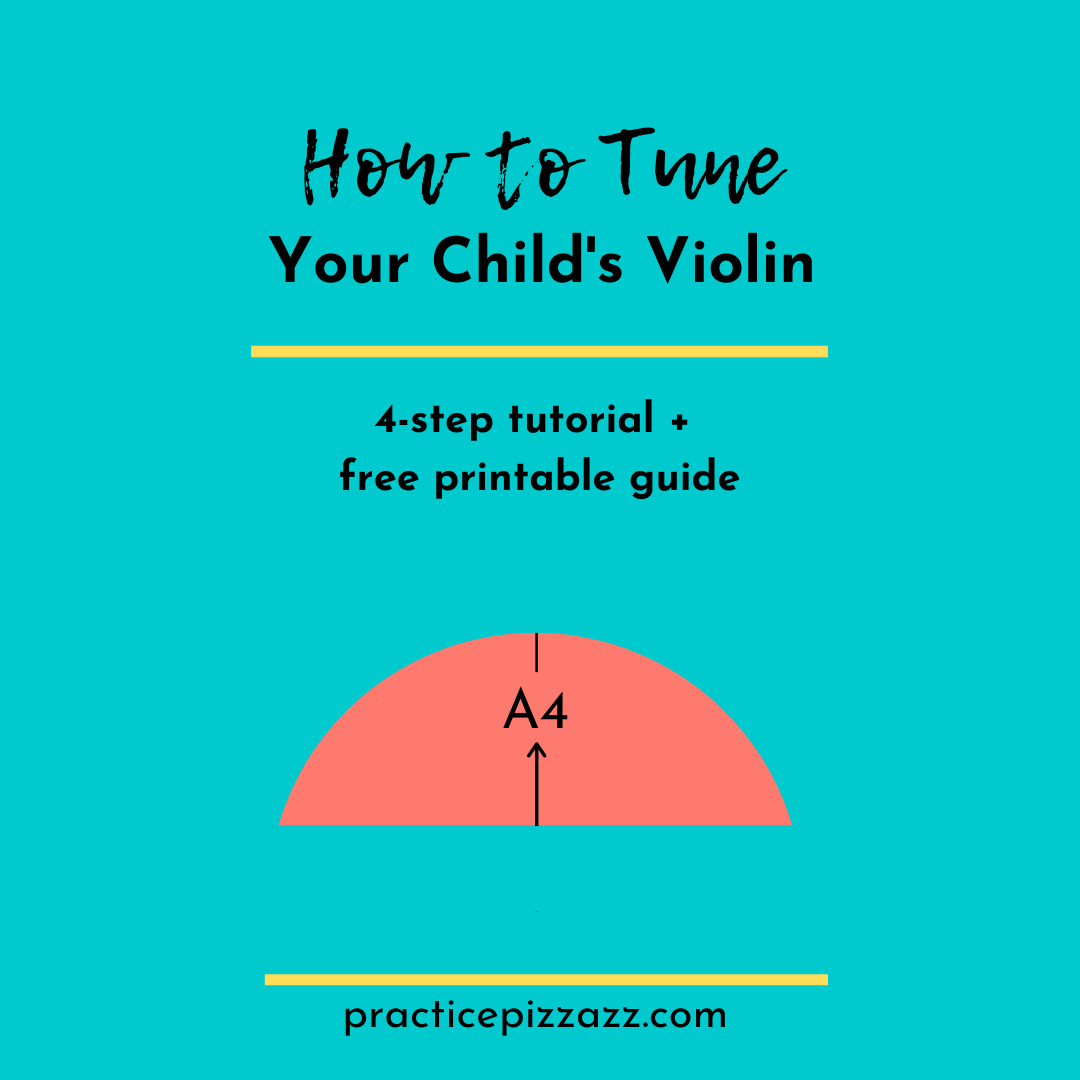
How to Tune A Violin: Tutorial for Parents
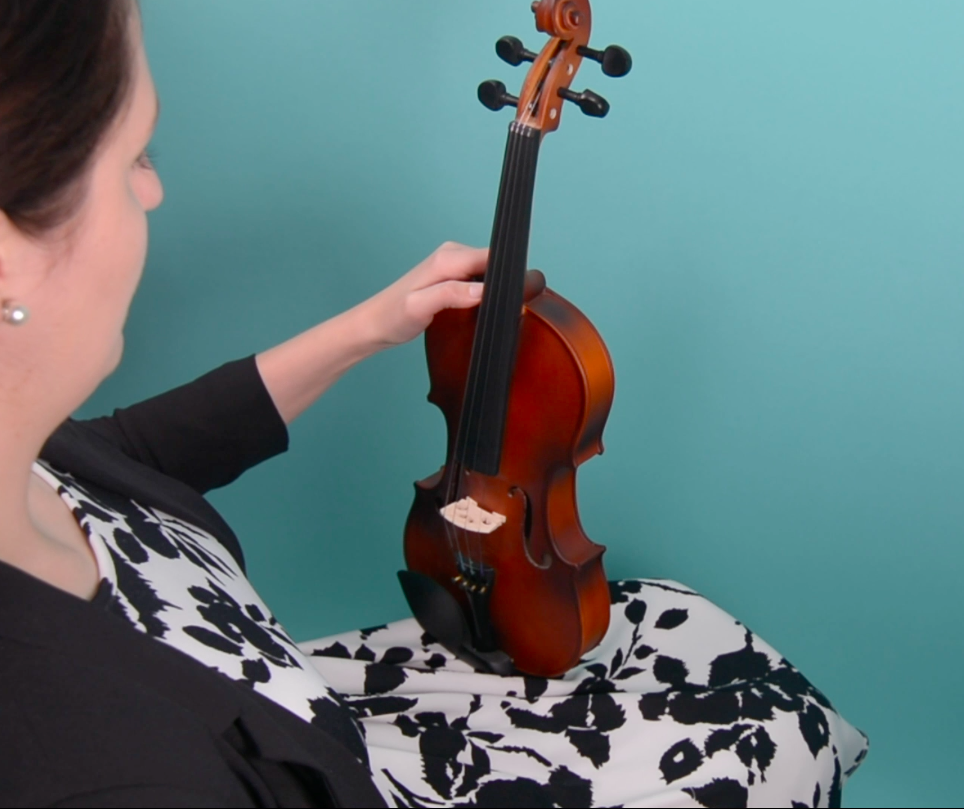
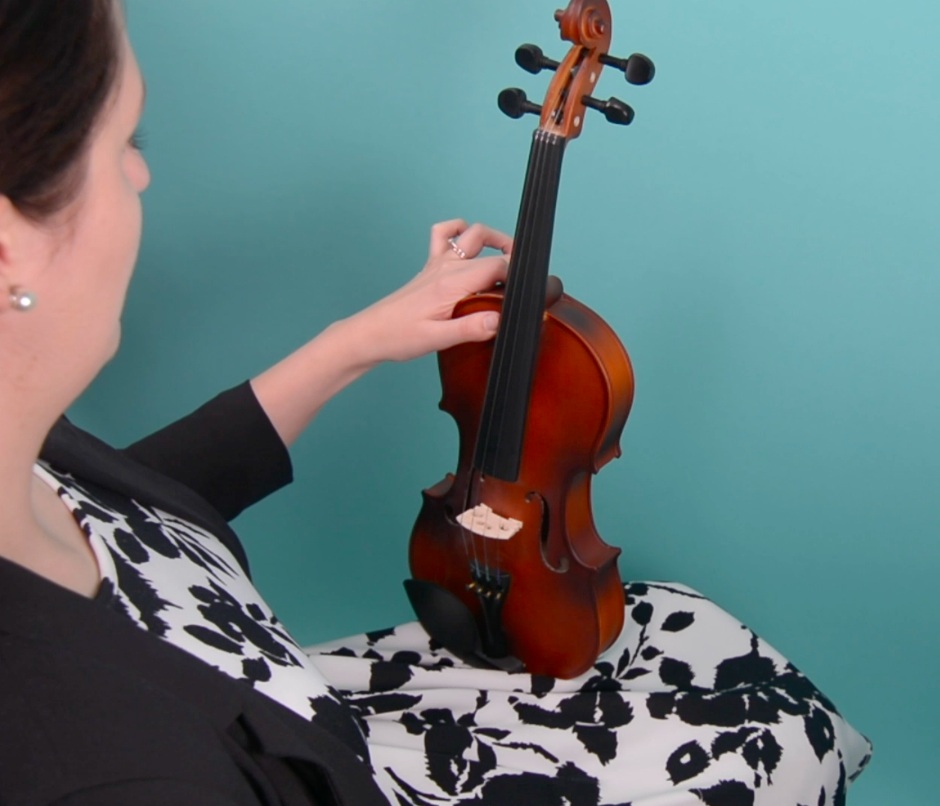
This tutorial is for parents who need to tune their child’s violin at home but don’t know the best way to do it. I’m going to show you how to tune your child’s violin quickly, confidently, and correctly.
This post may contain affiliate links. If you purchase something through an affiliate link, I will receive a small commission at no cost to you. For more information, read the disclosure.
You May Also Like