This post will help you get your internet speed as fast as possible for high-quality video and audio for your child’s online music lessons.
If your internet is slow or glitchy, your child’s online music lesson is going to bomb. But there are things you can do! Don’t worry if you’re not tech-savvy. I’ll walk you through 7 things you can do to help technology do its job during your child’s online music lesson.
This post is Part 2 in a series on starting online music lessons.
Read Part 1: “The #1 Predictor of Success in Online Music Lessons.”
Read Part 2: 6 Steps to Faster Internet for Online Music Lessons
Read Part 3: 6 Tips for an Awesome First Online Music Lesson
Read Part 4: 4 Mistakes Parents Make in an Online Violin Lesson.
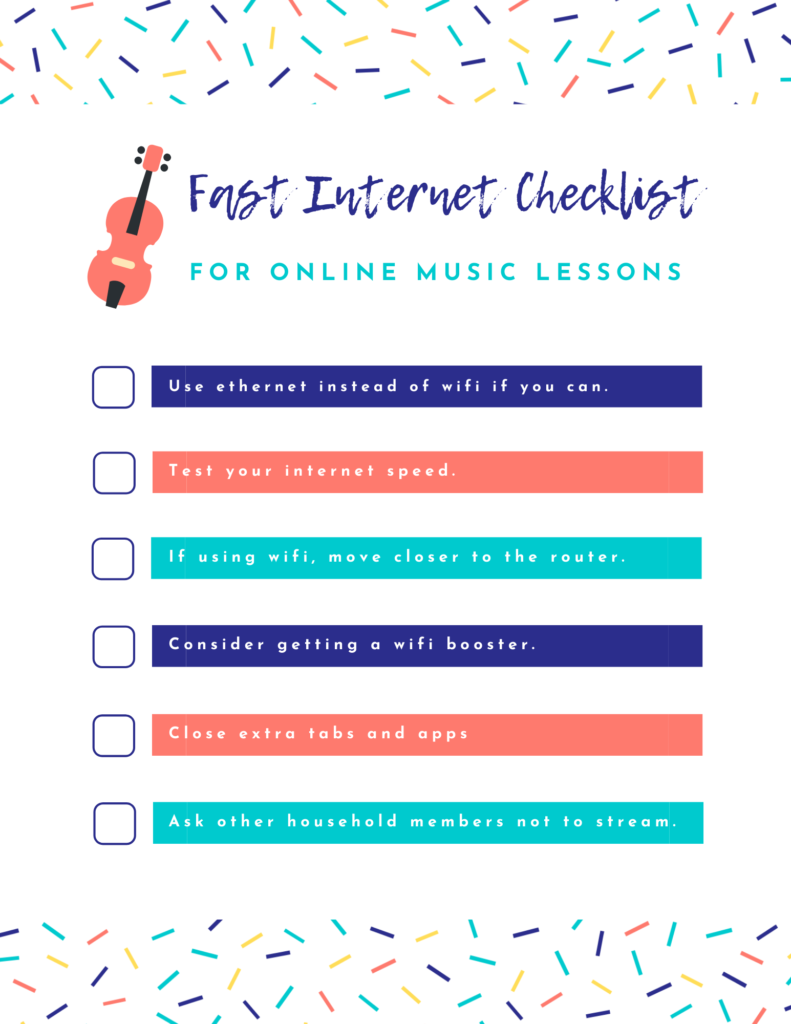
Follow these steps in order for the best chances of a non-glitchy online music lesson with lightning-speed internet:
1. Use an ethernet cord instead of wifi if you can.
Ethernet, which uses cables, gives you a boost in the quality of streaming. The data transfer speed will always be faster with ethernet than with wifi.
However, not every device has an ethernet plug-in, and it may not be possible for your child’s lesson to take place wherever the ethernet cable is in your house. If using ethernet isn’t an option, move onto the next step.
2. Test your internet speed.
Now that you’ve figured out if you’ll use ethernet or wifi, check the speed. Go to speedtest.net and click the “Go” button.

Give it a few seconds or even a minute, and then check your results. You’re looking at two numbers:
- The download speed
- The upload speed

This is the internet situation I’m working with right now. It’s definitely doable, but I’m planning to call my internet provider and upgrade since my upload speeds are not as fast as I’d like.
The download speed determines how quickly and correctly your device sends video and audio to your student, while the upload speed determines how quickly and correctly their device sends video and audio to you.
I use Zoom to teach online lessons, and they say that their platform works with a minimum of 1.2 Mbps for one-on-one video calls and a minimum of 3.0 Mbps for group calls.
Just know that these numbers are the minimums! I recently took an excellent course from Carly Walton, who has been teaching music lessons online for years. She recommends download and upload speeds of no less than 10 Mbps.
If you need to upgrade, please do. You’ll be so much happier with the quality of the video and audio of your child’s online music lessons!
Now that you know your download and upload speeds are high enough, it’s time to make a few tweaks.
3. If you’re using wifi, move closer to the router.
As long as the router is in a spot where the music won’t disturb others and where the environment is conducive to concentrating well, go there.
4. If being close to the router really is not an option, consider getting a wifi booster.
A booster extends the network coverage beyond just where the physical router is. I used to use a booster when I lived in dorms since the actual source of wifi wasn’t close enough to me, and it was a lifesaver.
5. Close all extra tabs and apps on the device you’re using.
You want the internet’s full power to go toward the online music lesson.
6. Ask other household members not to stream.
Gaming or watching Netflix eats up lots of internet and will take streaming power away from the online music lesson.
Your internet is ready for online music lessons!
Now that you’ve gone through these 7 steps, your internet is rip-roarin’ and ready to go.
Have you followed these steps for your child’s online music lessons? How did it go? Let me know in the comments below!
This post is Part 2 in a 5-part series on starting online music lessons. Read Part 1 “The #1 Predictor of Success in Online Music Lessons.”

